lfs-large-file-storage

Setting Up and Using Git LFS on Windows 11 with Git Bash for Angular Web Apps
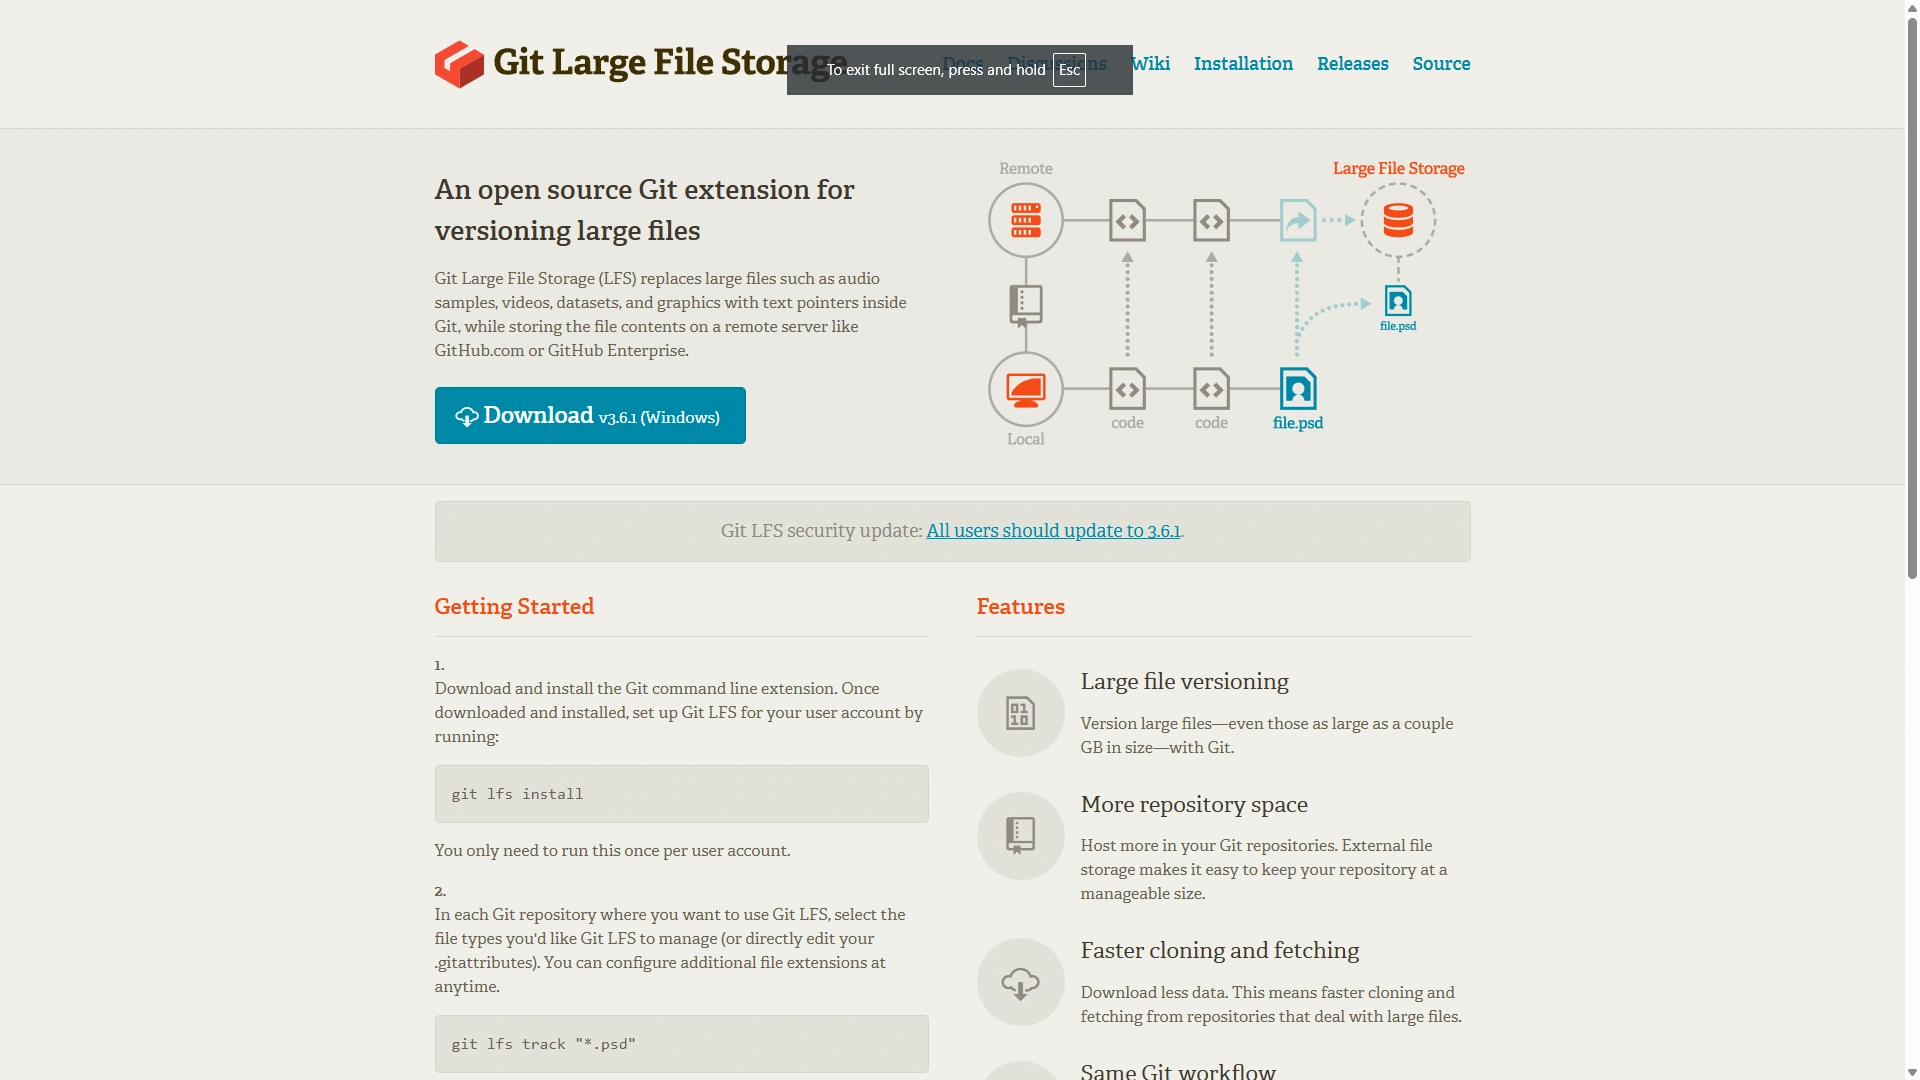
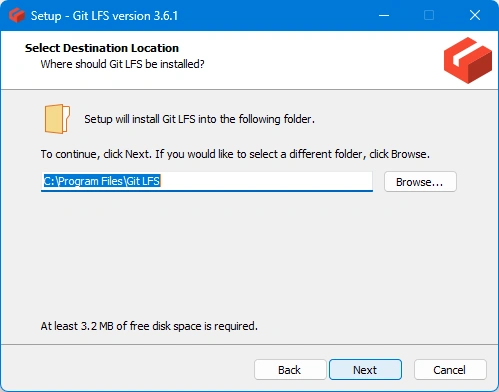
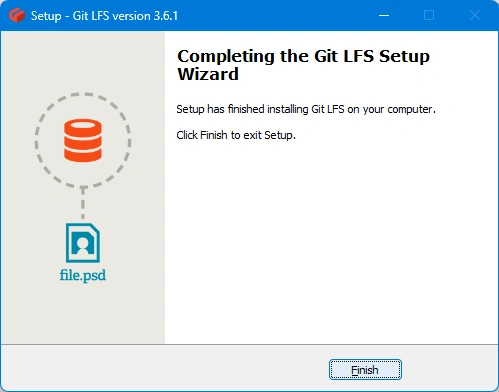
1. Install Git LFS
Open Git Bash and run:
git lfs install
2. Track Large Files
Decide which file types to track (e.g., images, videos, binaries):
git lfs track "*.png"
git lfs track "*.mp4"
This creates or updates a .gitattributes file.
3. Add and Commit Files
Add your large files and commit as usual:
git add .gitattributes
git add path/to/large-file.png
git commit -m "Add large files with LFS"
4. Push to Remote
Push your changes to your remote repository:
git push origin main
5. Clone with LFS
When cloning a repo with LFS files, run:
git clone <repo-url>
cd <repo-folder>
git lfs pull
6. Using with Angular Projects
- Place large assets (e.g., images, videos) in a suitable folder (like
src/assets/). - Track only necessary file types to avoid unnecessary LFS usage.
- Ensure all team members have Git LFS installed.
7. Verify LFS Status
Check tracked files and LFS status:
git lfs ls-files
Resources
Common Issue: All Files Show as Changed After Enabling Git LFS
When you first enable Git LFS and start tracking new file types, Git may show all previously committed files of those types as "modified" in git status. This happens because .gitattributes has changed and Git wants to update the tracked files to use LFS pointers.
How to Resolve
-
Clear the Git Index Cache
After updating
.gitattributesto track new file types, clear the Git index cache so Git recognizes the changes:git rm --cached -r .
git add . -
Stage the Attribute Changes and Affected Files
git add .gitattributes
git add . -
Commit the Changes
git commit -m "Migrate existing files to LFS" -
Push to Remote
git push origin main
This updates the repository so that the specified file types are now managed by LFS, and the working directory is clean.