ANDROID STUDIO
![]()
Table of Contents
Set up Phone
Activate debugging/developer mode tap 7 times on software build to activate dev settings
https://sdkman.io/ https://adoptium.net/
Mac Install
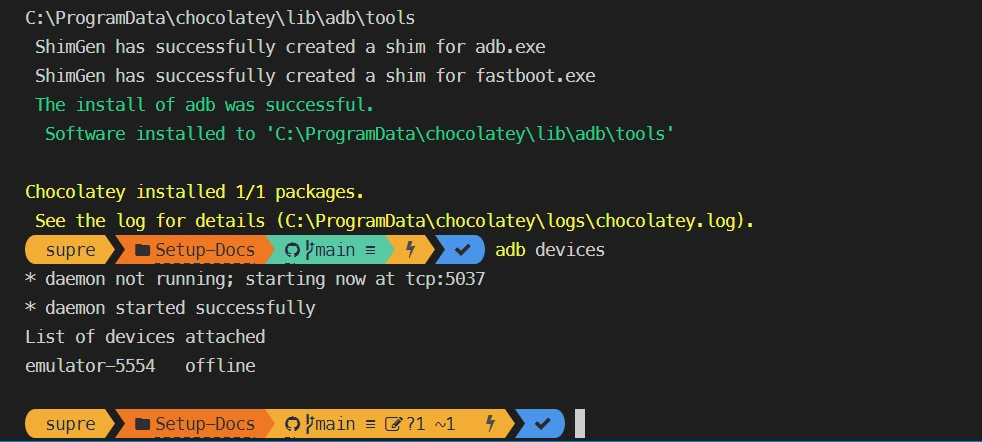
adb devices
https://developer.android.com/jetpack/compose
WebView
https://developer.android.com/reference/android/webkit/WebView.html
Windows Android Studio Install
| Steps | Screenshot |
|---|---|
| Android Studio IDE |  |
| STEP 1: accept t&c | 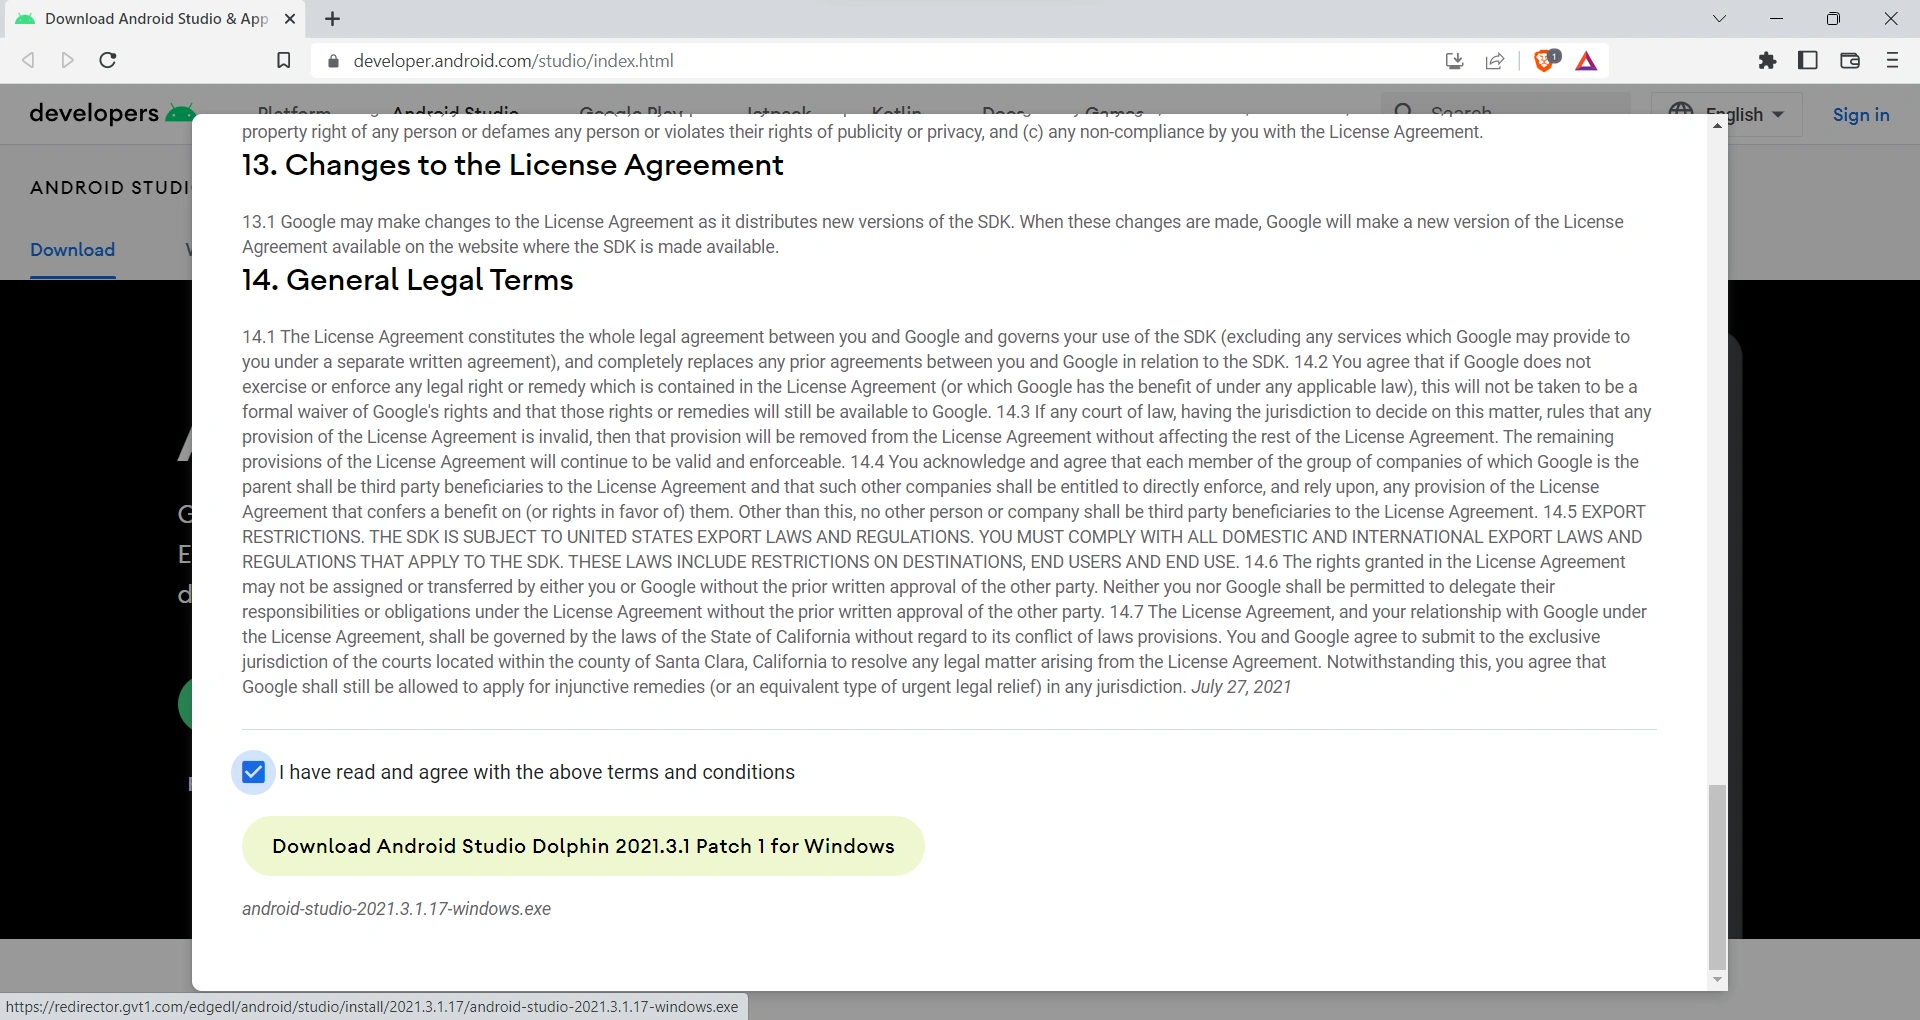 |
| 2: | 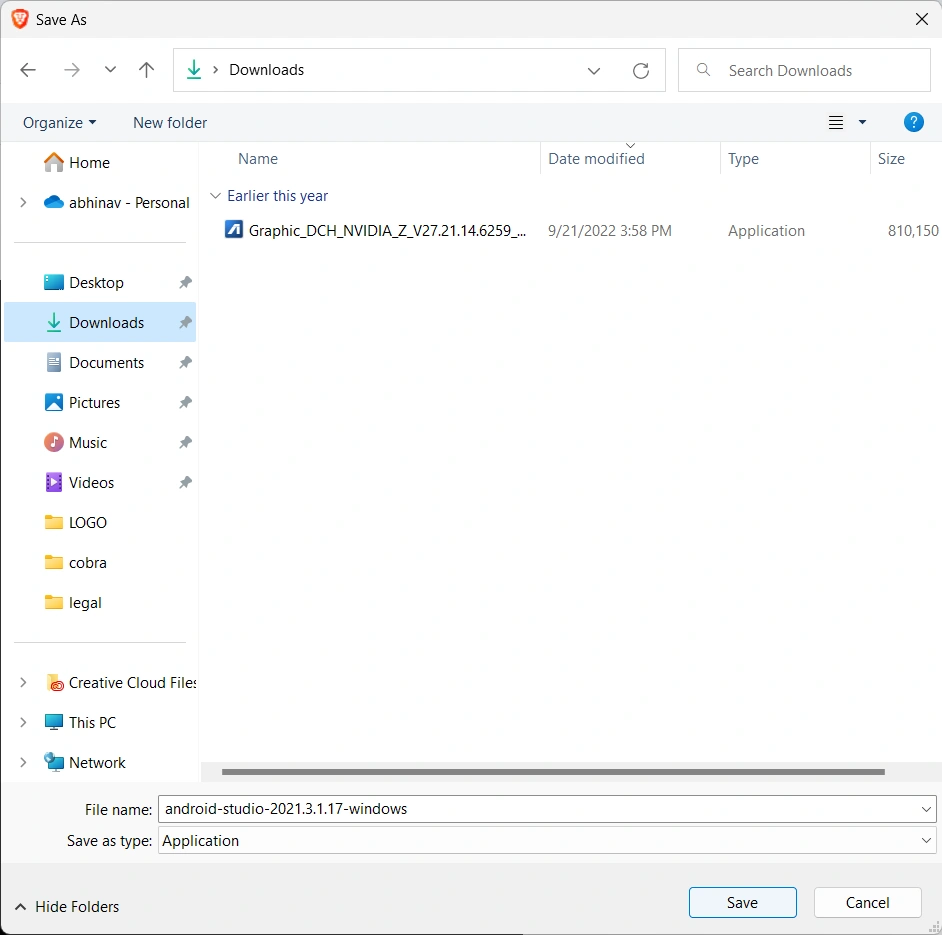 |
| STEP 3: Click Next |  |
| STEP 4: uncheck virtual device if you have a real phone to use for QA | 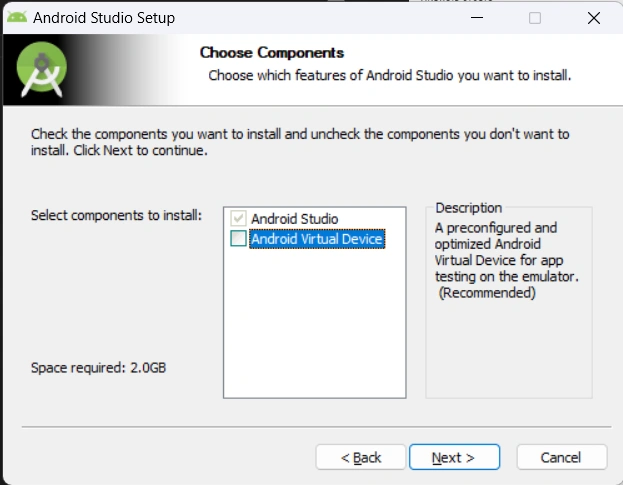 |
| STEP 5: |  |
| STEP 6: |  |
| STEP 7: |  |
| STEP 8: |  |
| STEP 9: | 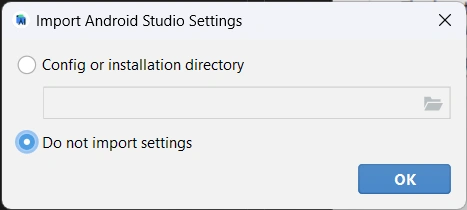 |
| STEP 10: | 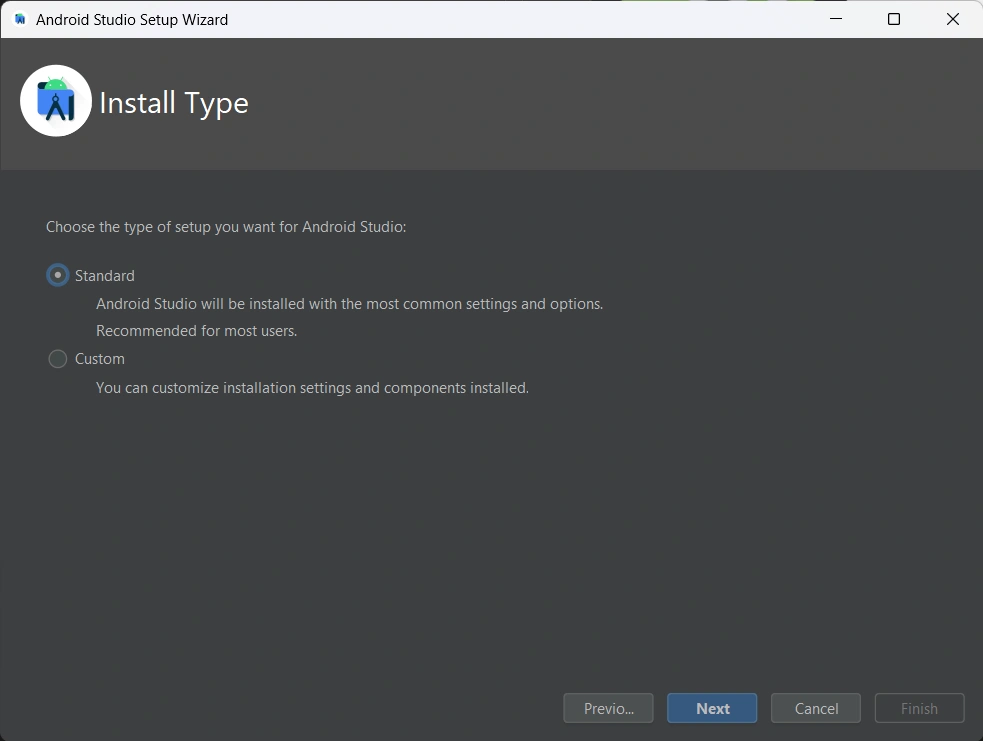 |
| optional | 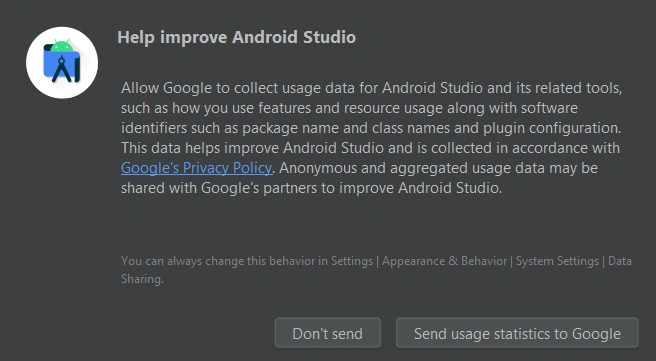 |
| STEP 12. |  |
| STEP 13: |  |
| STEP 14. | 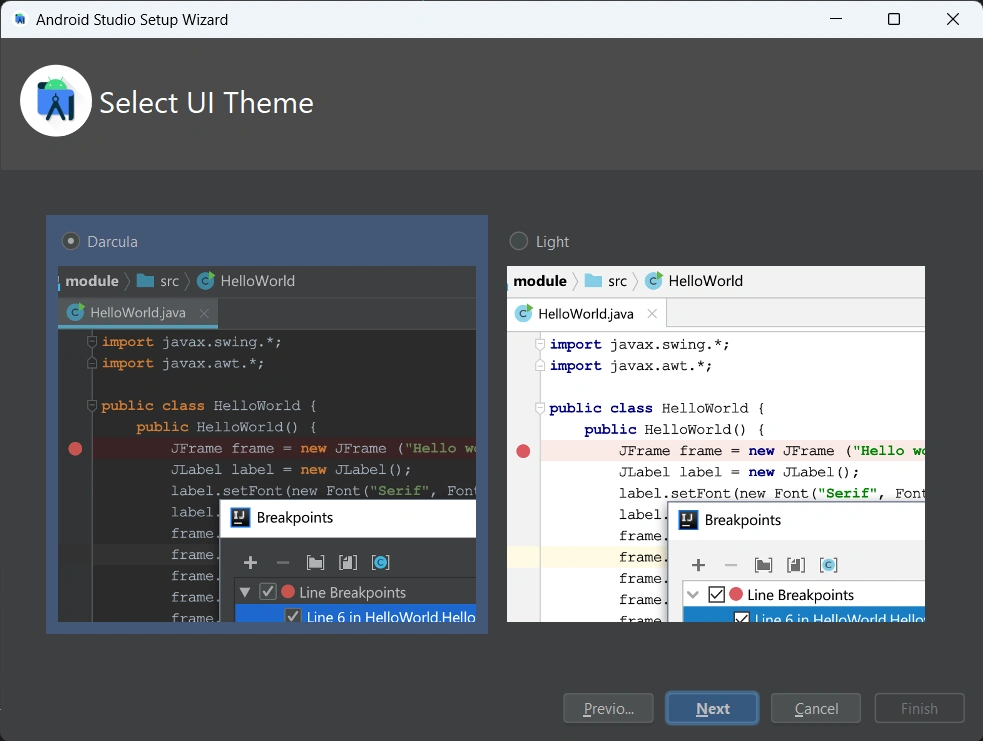 |
| STEP 15: | 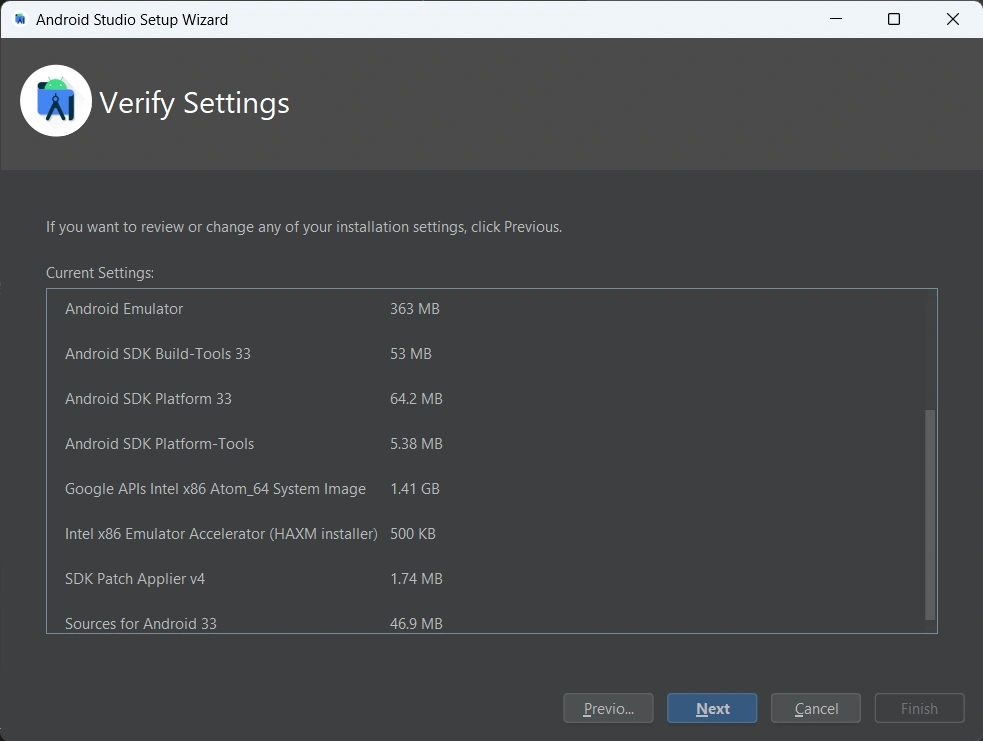 |
| STEP 16: CLICK ACCEPT | 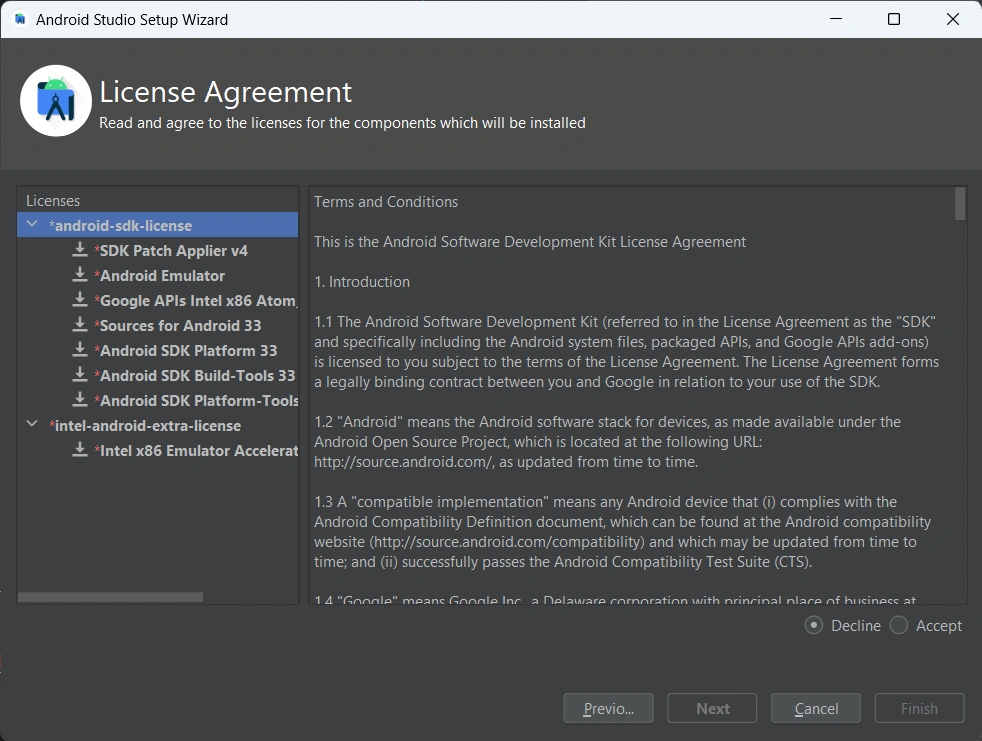 |
| STEP 17: | 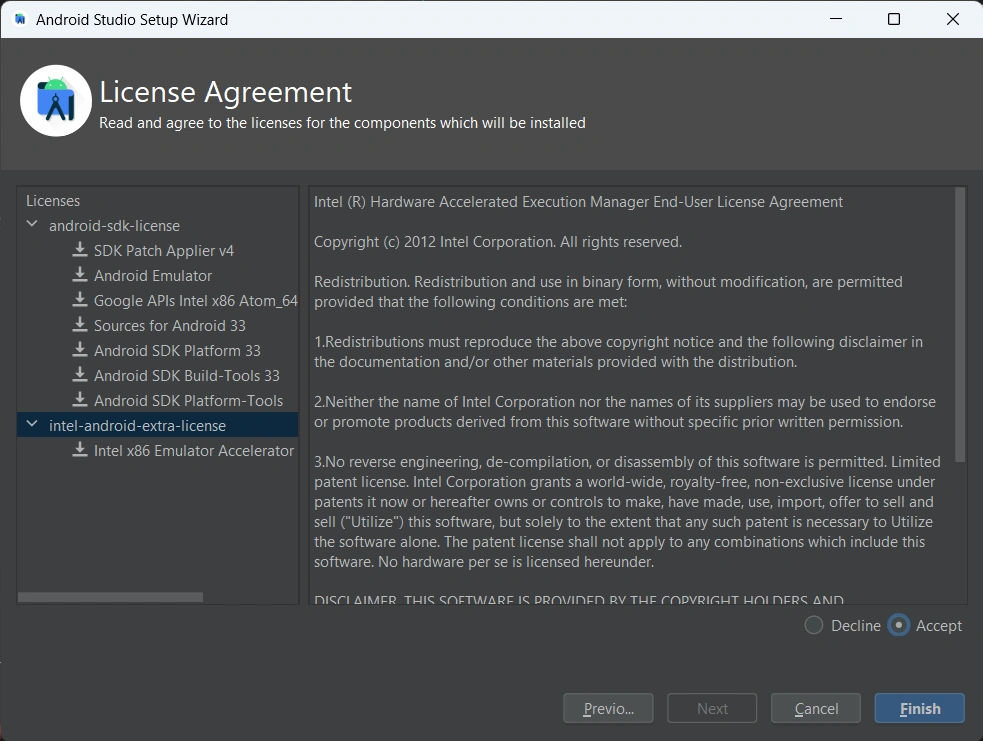 |
| STEP 18: |  |
| STEP 19: |  |
| STEP 20: |  |
Gradle
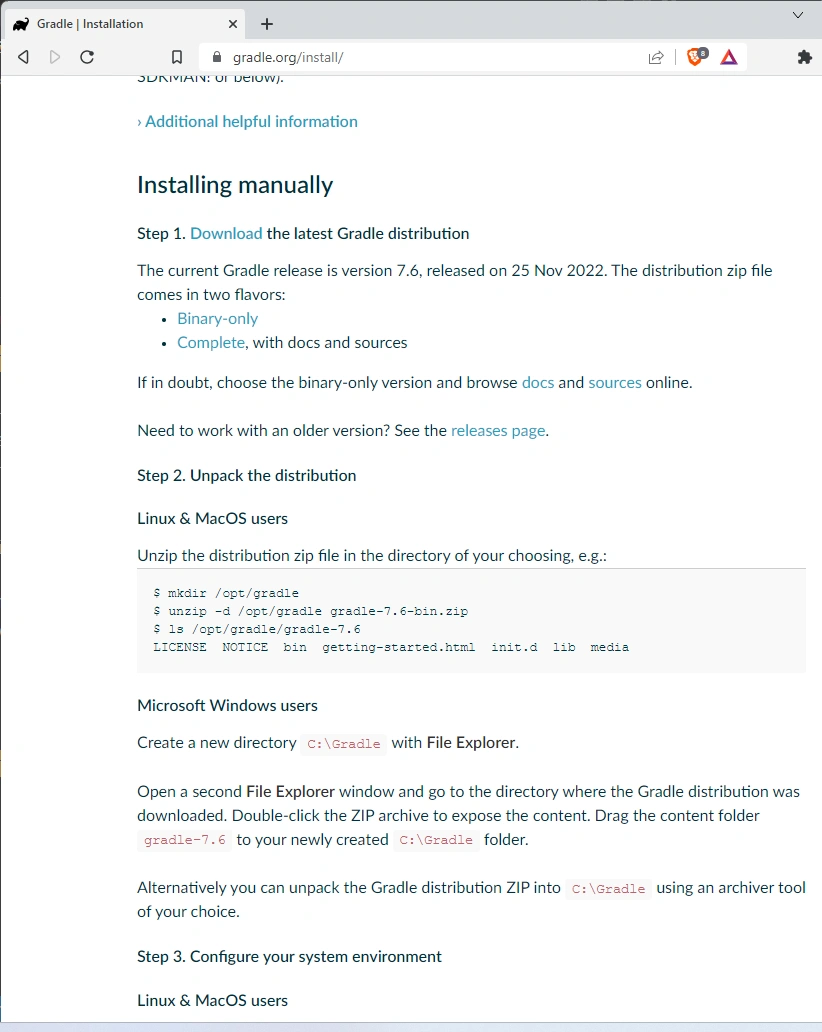
gradle Install
download complete version
Gradle Environment Variable

%ANDROID_HOME%\gradle\bin
%GRADLE_HOME%\bin
gradle choco path
C:\ProgramData\chocolatey\lib\gradle\tools\gradle-7.5.1
gradle clean
It was due to an update in my case. I browsed to ./gradle directory in my project and noticed that there are two folders inside. I simply deleted the older one and the problem solved.
https://www.androidauthority.com/best-android-emulators-for-pc-655308/ https://developer.android.com/ndk/guides/abis https://developer.android.com/ https://software.intel.com/en-us/android https://developer.android.com/studio/build/build-variants https://gradle.org/ https://medium.com/@kevalpatel2106/how-to-decrease-your-gradle-build-time-by-65-310b572b0c43 https://github.com/intel/haxm/wiki/Installation-Instructions-on-Windows https://developer.android.com/studio/intro/
add this for going from gradle 3.3.0 up to 4.10.3
maven {
    url "https://maven.google.com"
}
maven proxy
build.gradle
buildscript {
    repositories {
        maven {
            mavenLocal()
        mavenCentral()
        google()
        jcenter()
            url "https://maven.google.com"
        }
    }
    dependencies {

        // NOTE: Do not place your application dependencies here; they belong
        // in the individual module build.gradle files
        classpath 'com.android.tools.build:gradle:3.0.1'
    }
}

allprojects {
    repositories {
        maven { url "https://maven.google.com"}
        mavenLocal()
        mavenCentral()
        maven { url "http://jcenter.bintray.com"}
        google()
        jcenter()
    }
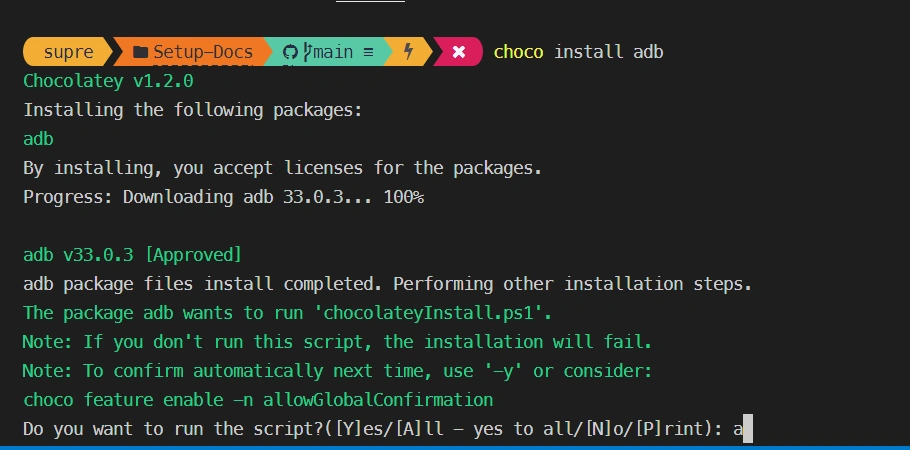
Android Device Bridge
ADB
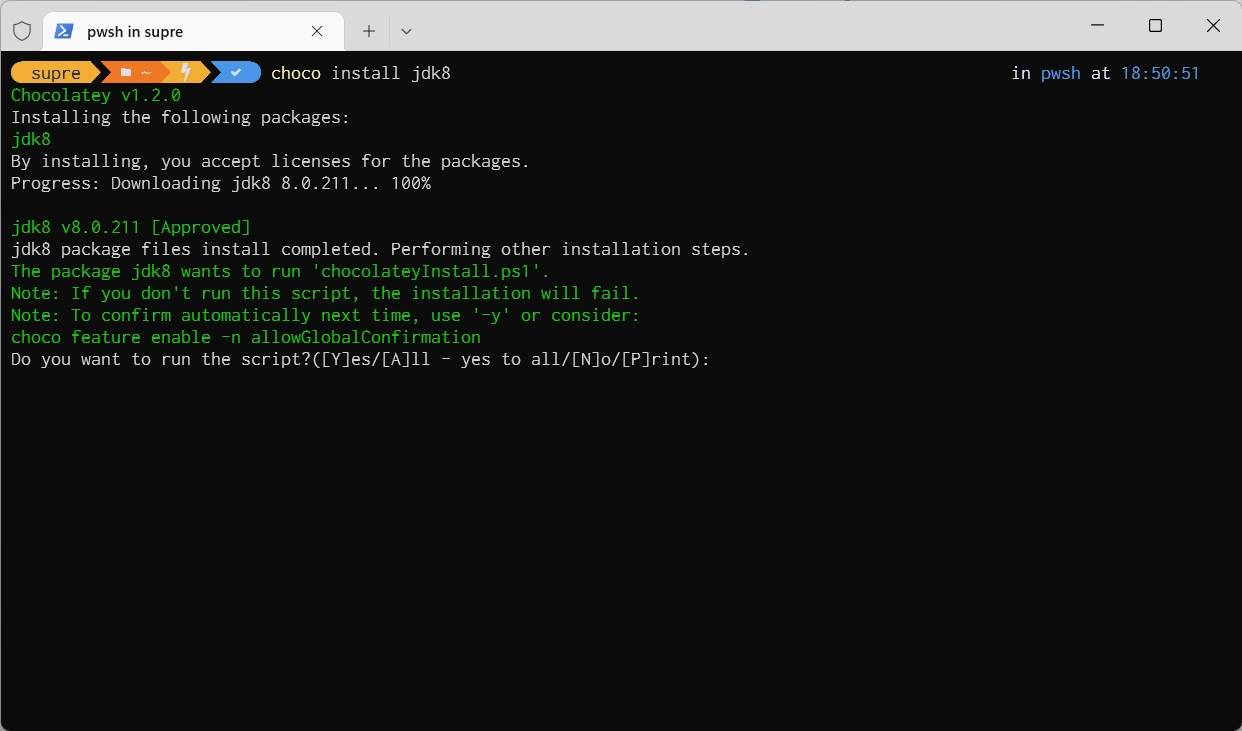
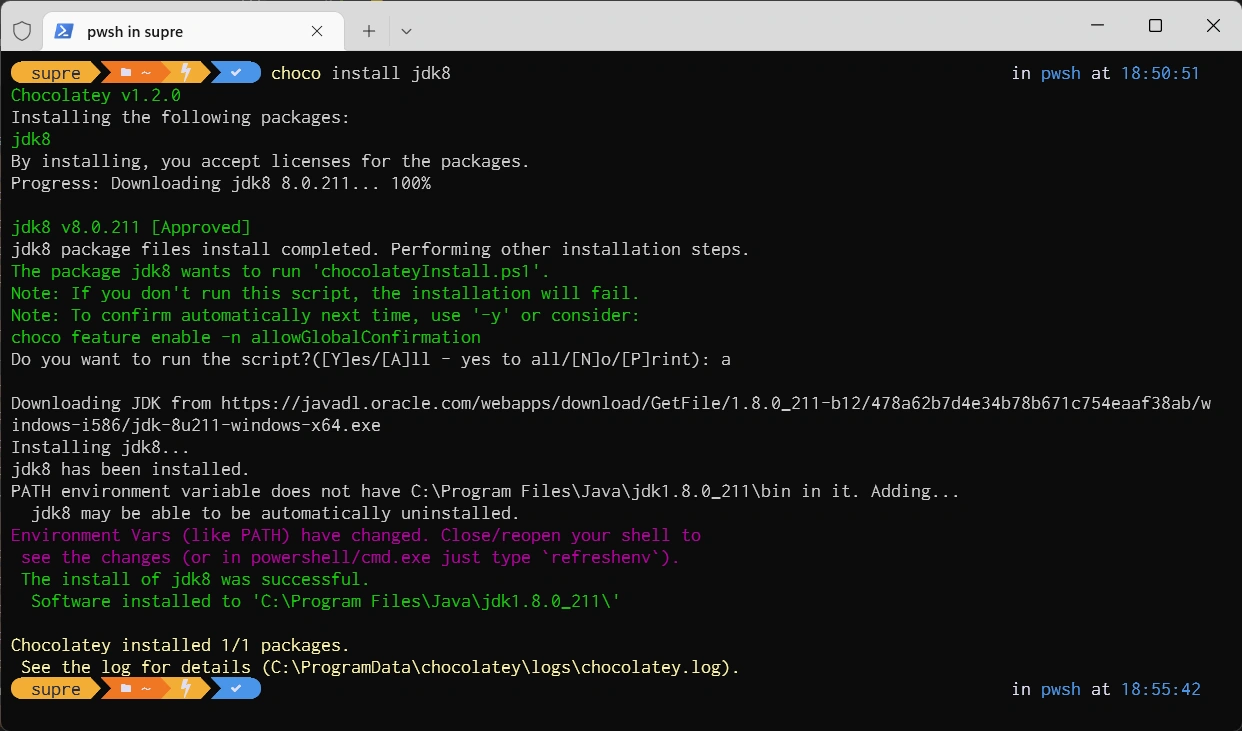
JDK8
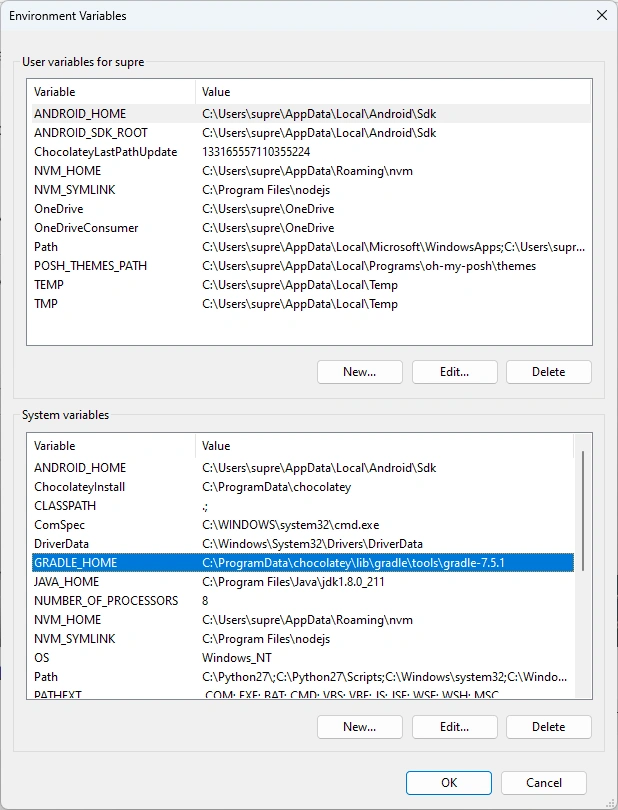
Environment Variables
%ANDROID_HOME%\platform-tools
%ANDROID_HOME%\tools\bin
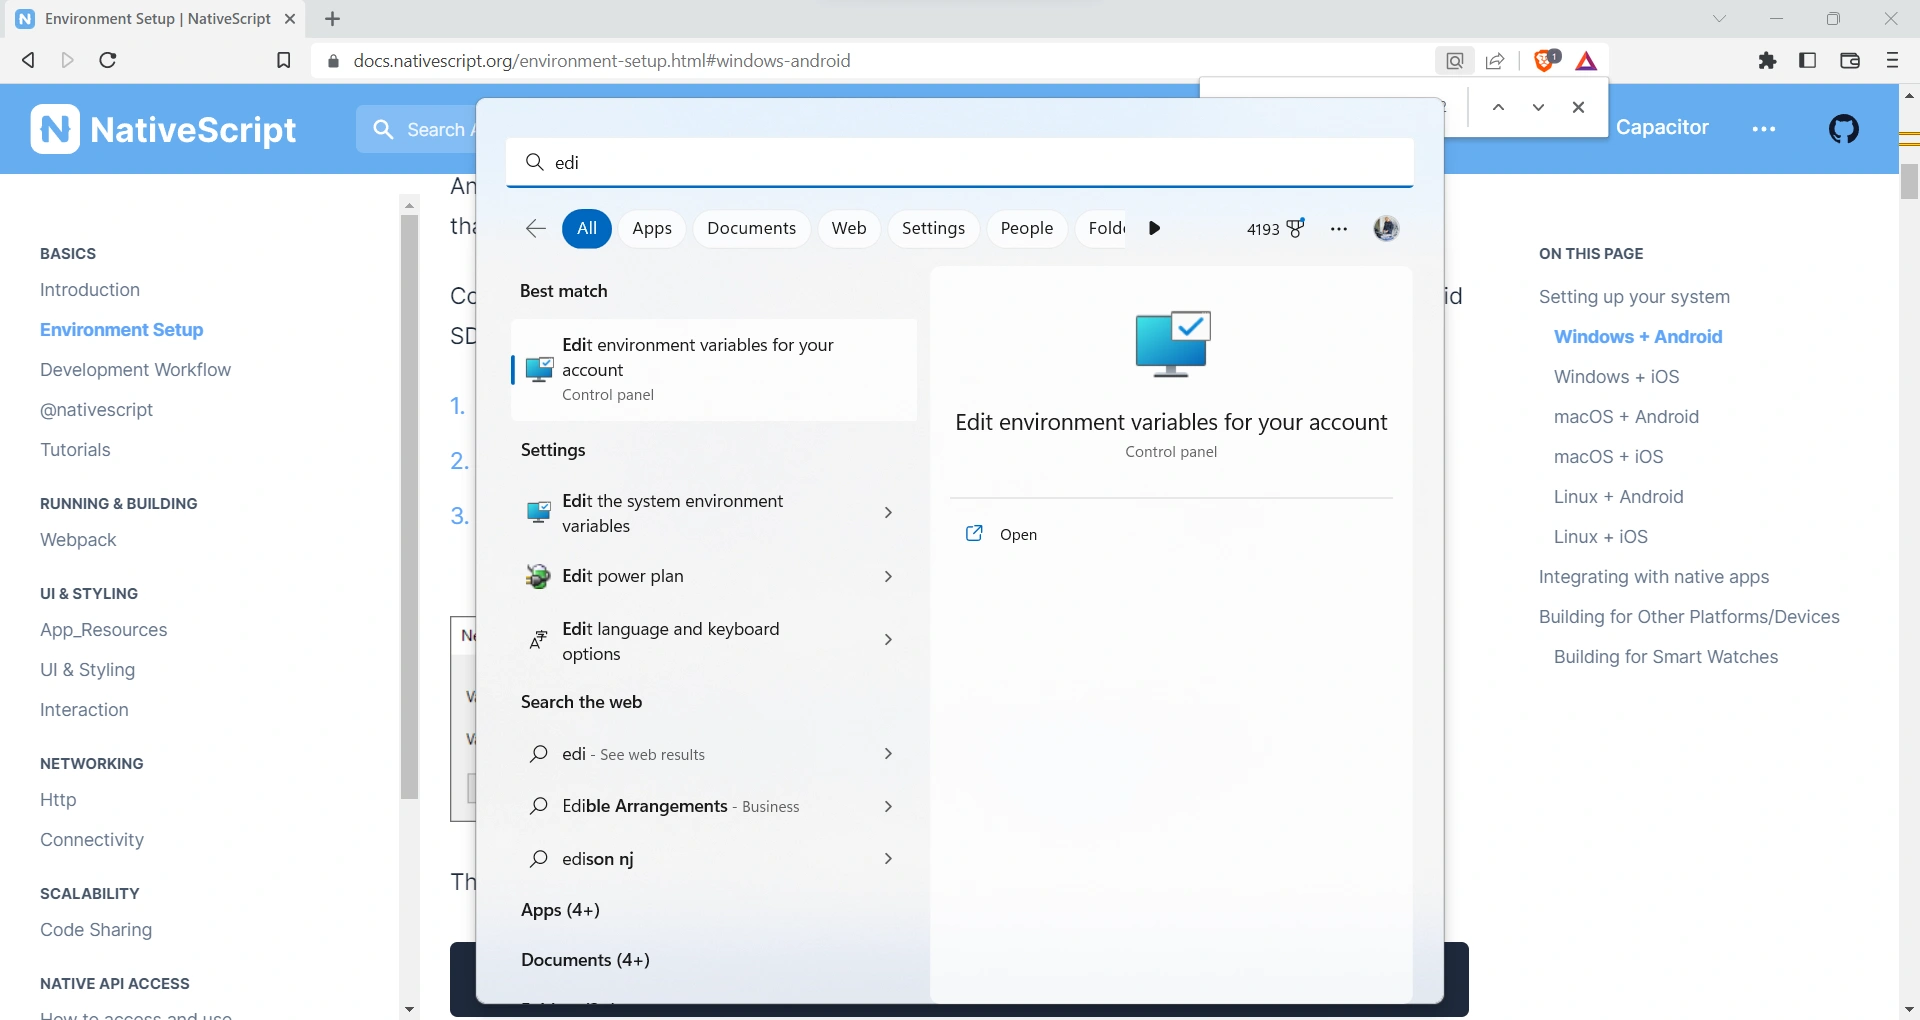
- Search for "Edit environment variables" in Windows Search and select
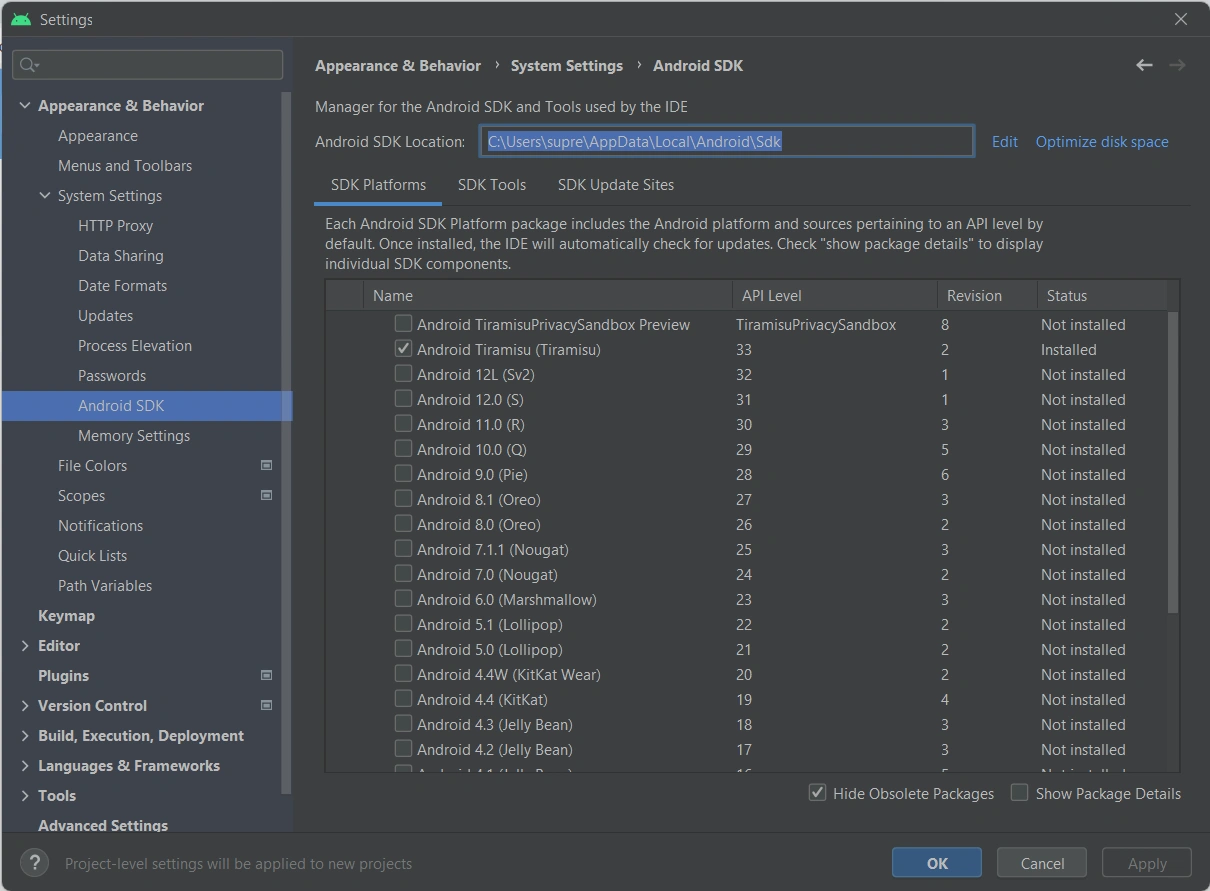
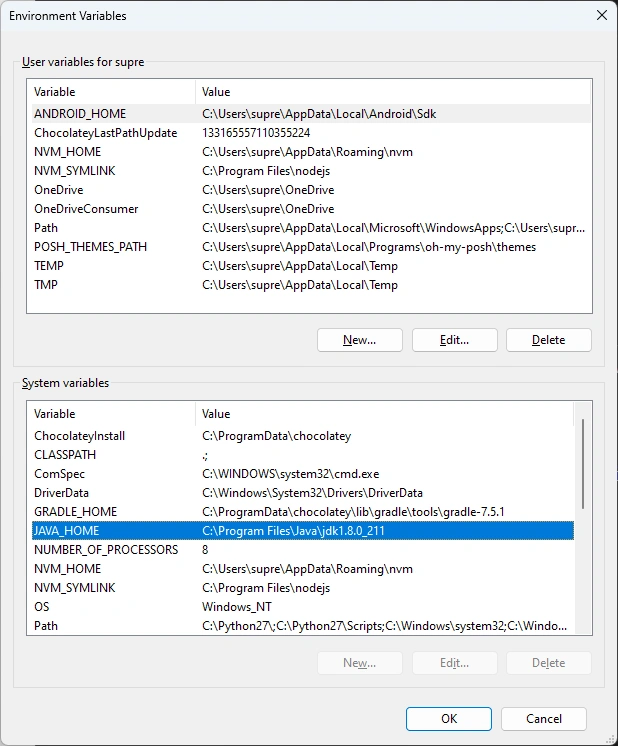
Under the "User variables for..." click on New... to create the ANDROID_HOME user variable that points to the path of the Android SDK
verify JAVA_HOME environment variable
HAXM
choco install haxm